Rotary Test Pattern
Tools ▸ Rotary Test Pattern · flatbed machines with a rotary attachment
What it does
It builds a set of concentric rings sized for the diameter you are about to engrave, and queues it as a job with the rotary settings already applied.
Engrave it on the actual object and the rings tell you whether your rotary is scaled correctly.
Why rings
Because a rotary attachment has one failure mode that matters, and rings expose it immediately.
The rotary turns the object under a stationary head, so the software has to know how far the surface moves per turn — which depends on the object's diameter and on the attachment's gearing. Get that wrong and everything is stretched or squashed around the circumference only. Straight up-and-down stays correct.
⭐ A circle is the shape that makes that unmissable. A ring engraved with the wrong scaling comes out as an oval, and you can see it across the room. Text, logos and rectangles all hide the same error — a slightly-stretched logo just looks like the logo.
Before you start
You need a rotary profile configured for your attachment. If none exists, the tool says "No rotary profile." and stops rather than guessing at your hardware. Set one up in Settings first.
Step by step
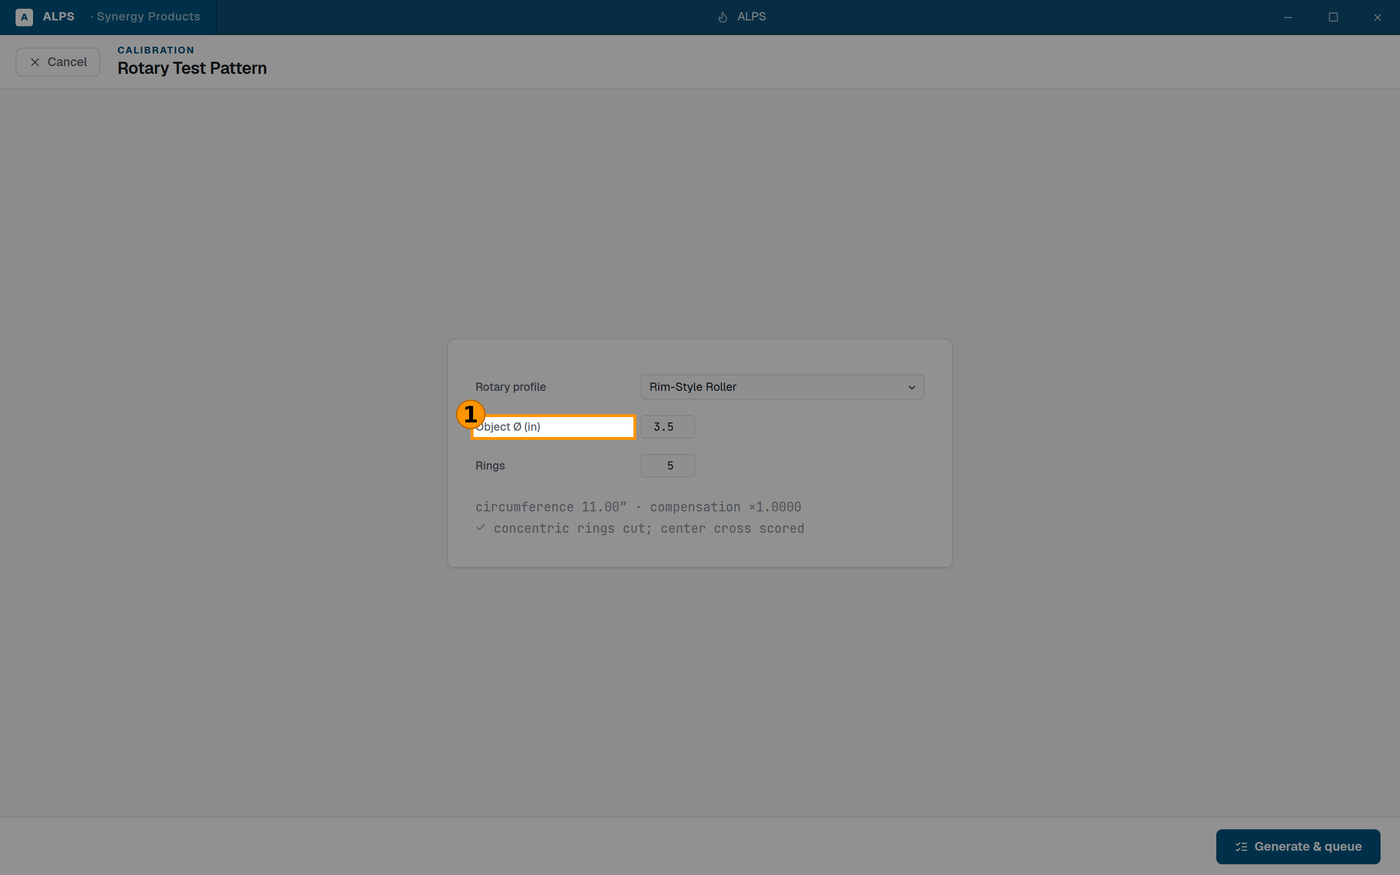
Measure the diameter WHERE THE ARTWORK SITS — a tumbler tapers
- Mount the object in the rotary and set it up as you normally would.
- Open Tools ▸ Rotary Test Pattern.
- Rotary profile — pick the attachment you are using.
- Object Ø (in) — the diameter of the object where the laser will engrave it. See the warning below.
- Rings — how many. Five is plenty.
- Generate & queue. ⚠ This queues a real job, not a preview.
- Run it, and look at the rings.
Reading the result
Round rings — the diameter and profile are right. Engrave your real job.
Ovals — the diameter you entered does not match the object.
- Wider than tall (stretched around the circumference): the real diameter is larger than what you entered.
- Taller than wide: the real diameter is smaller.
Correct the diameter and run it again. ⭐ Two attempts usually settle it, and the second is nearly always right because the first tells you which way to go.
Rings that do not close, or step at the seam — the object slipped in the rotary, or the profile's gearing is wrong. Check the object is gripped and driven, not just resting, before suspecting the software.
⚠ Measure the diameter where the laser hits
This is the mistake that costs the most tumblers.
Most objects worth engraving are not the same diameter all the way along — a tumbler tapers, a bottle has a shoulder, a mug's wall curves in at the base. The number the software needs is the diameter at the height of the engraving, not the widest point and not the base.
Measure with calipers at the band where the artwork will sit. If the object tapers noticeably across the height of your artwork, expect the top and bottom of a tall design to scale slightly differently — that is the object, not the machine, and the fix is a shorter design or a straighter object.
Related
- Rotary (Tumbler wizard) — for laying out artwork on a cylinder once the scaling is proven.
- Material Test (
material-test.md) — speed and power for the object's surface, which the rotary does not change.