Print & Cut wizard
Job Editor ▸ the wrench ▸ Print & Cut wizard · ■ Blue
What it does
You have artwork that is printed — on a sticker sheet, a printed panel, a label stock — and you want the laser to cut around it. The problem is that the laser has no idea where the printing landed.
Print & Cut solves it by putting registration marks into both the print file and the cut job, so the two can be lined up.
⭐ Two ways in, and they are the same tool. The Tools screen lists it under In the Job Editor — clicking takes you to the editor with the wizard open. Or open it directly from the wrench in the editor's left toolbar. See Section 3.3.
The three steps
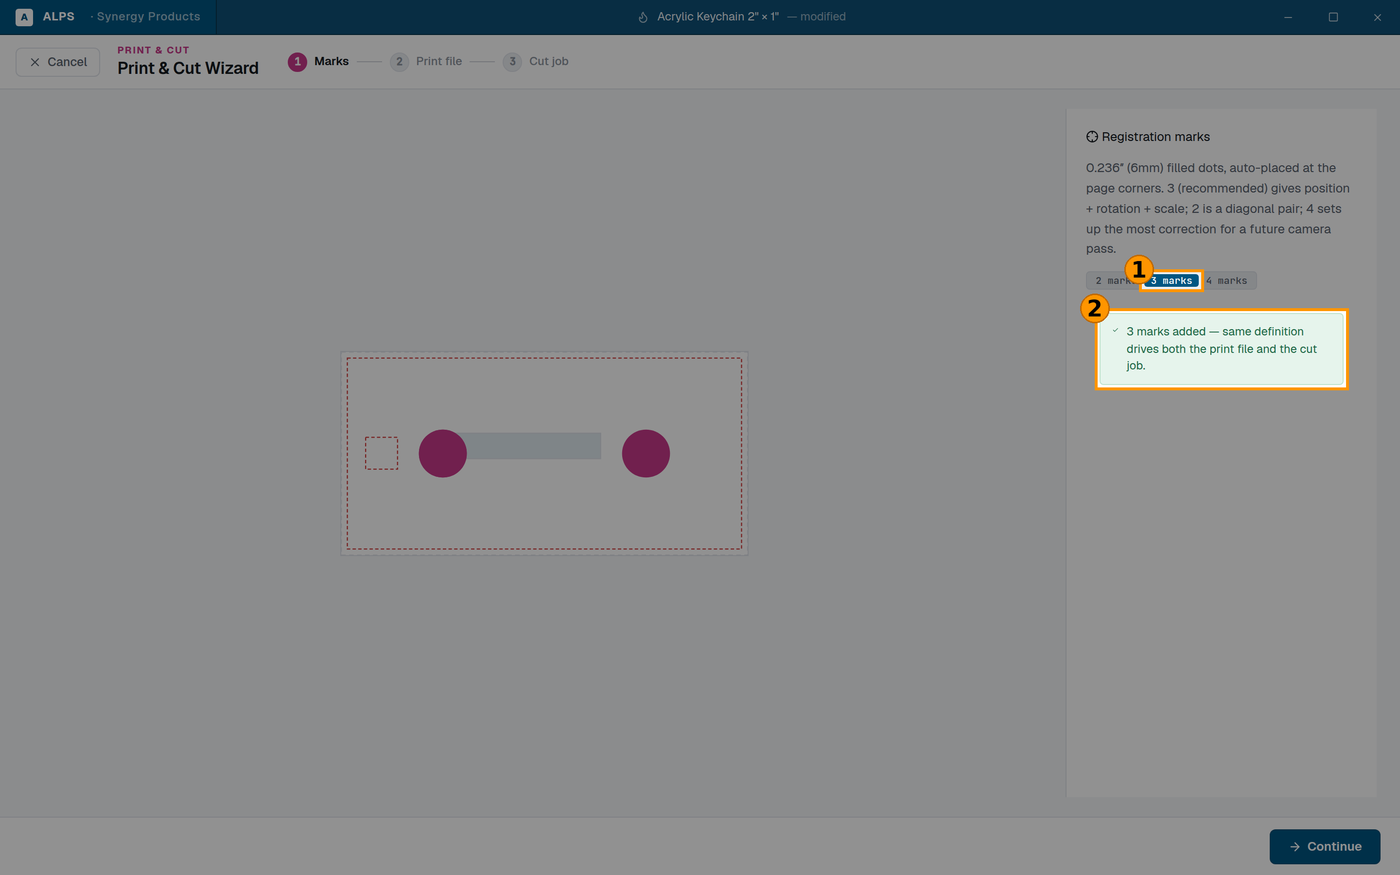
① Three marks is the recommendation — two cannot tell you the sheet went in SKEWED ② The same mark definition drives the print file AND the cut job — do not re-place them between
- Marks — add registration marks to the job.
- Print file — export the artwork with those marks, and print it.
- Cut job — cut, aligned to the marks on the printed sheet.
Step 1 — the marks
ALPS places 0.236″ (6 mm) filled dots at the page corners automatically. You choose how many:
| marks | what it buys |
|---|---|
| 2 | a diagonal pair — position only |
| 3 | ⭐ recommended — position and rotation and scale |
| 4 | the most correction, and what a future camera pass can use best |
⭐ Three is the recommendation for a real reason. Two marks can tell you the sheet moved, but not that it went in skewed — and a skewed sheet is the common failure, because paper and vinyl feed crooked far more often than they land in the wrong place.
⚠ The same mark definition drives both the print file and the cut job. That is the whole trick, and it is why you must not edit the marks between printing and cutting. If you re-place them, the printed sheet and the cut job no longer agree and nothing will line up.
Step 2 — print it
Export the print file and print it normally. ⛔ Print at 100% — any "fit to page" or "scale to fit" in the print dialog moves the marks relative to the artwork, and the cut will be wrong by exactly that scaling. This is the single most common way this job fails.
Step 3 — cut it
Put the printed sheet on the bed and run the cut job, aligned to the marks.
⚠ Do not trim the sheet before cutting. The marks are at the page corners; cutting them off removes the only reference the job has.
⛔ Test on one sheet
Print one, cut one, look at it. A print-and-cut job that is 1 mm out looks fine on screen and obviously wrong on a sticker, and you will not know which of the three steps drifted until you have a physical sheet in your hand.
Related
- Registration Wizard ■ — the camera-measured version, for material already on the bed.
- Nesting (Section 10.3) — fitting more copies on the sheet before you print.