Image Prep
Tools ▸ Image Prep · any machine
What it does
It turns a photograph into something a laser can actually engrave.
A laser does not do grey. It fires or it does not, so every shade in your picture has to become a pattern of dots — that is dithering, and it is the difference between a portrait that looks like a portrait and one that looks like mud.
Image Prep does that conversion, and lets you size and clean up the image on the way through.
Why you'd want it
Photo engraving is where most people get their worst results, and almost always for the same reason: they sent a photo straight to the laser and let something else decide how to convert it. The conversion is the whole job. Everything else — speed, power, resolution — matters less than whether the dots were laid out well.
Three ways in, and you should start at the top
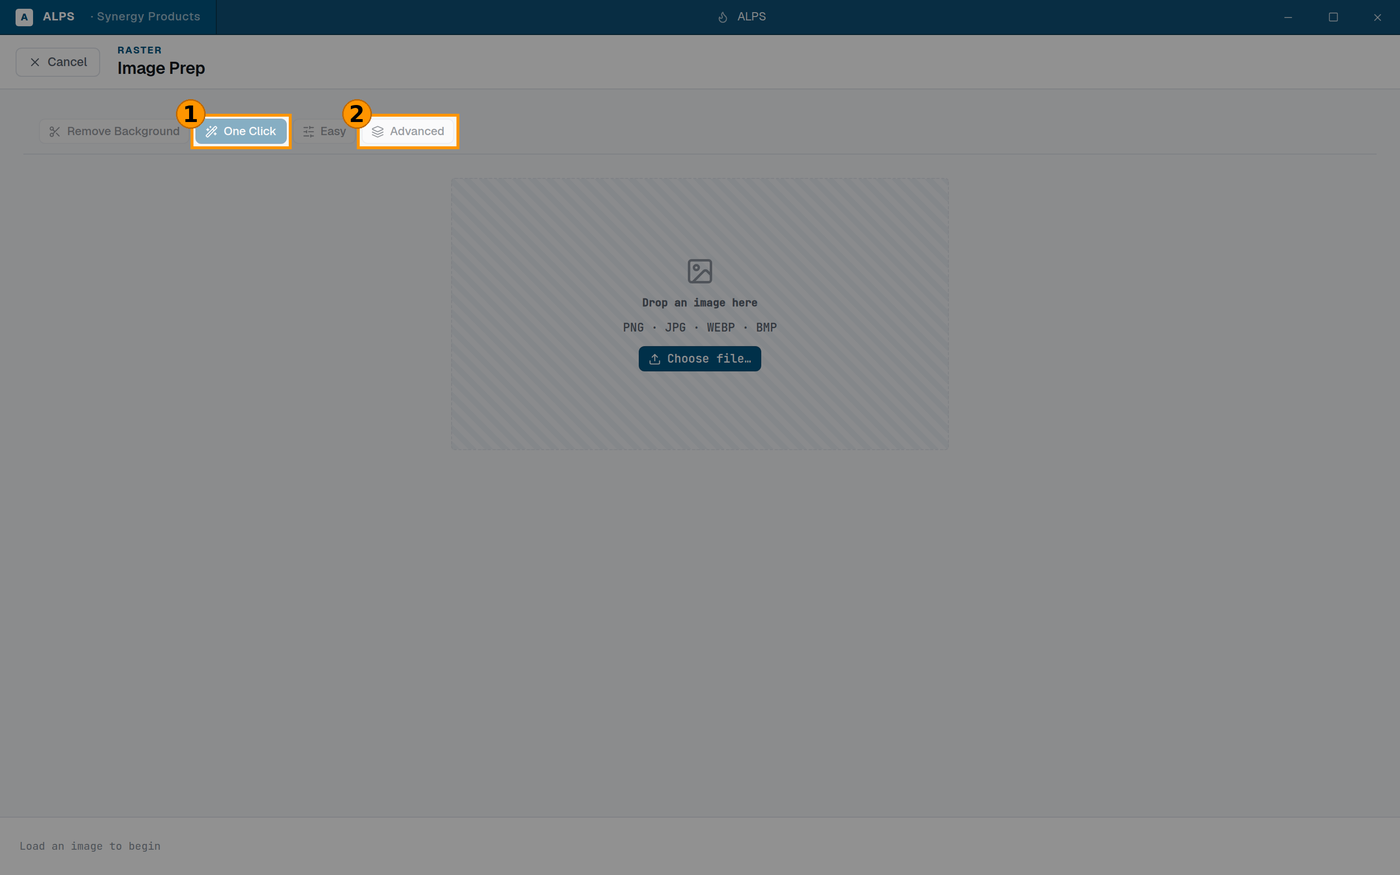
① Start here — One Click, every time, even when you are experienced ② Easy and Advanced are for nudging a result you can already judge
Image Prep gives you the same job at three levels of control:
| mode | use it when |
|---|---|
| One Click | you want a good result now. Start here — genuinely, every time |
| Easy | One Click was close but you want to nudge it |
| Advanced | you know what you are changing and why |
⭐ Start with One Click even when you are experienced. It gives you a baseline to judge against; jumping straight into Advanced means tuning with nothing to compare to, which is how people end up worse off than when they started.
Step by step
- Open Tools ▸ Image Prep.
- Drop an image here — or load one. The panel says Load an image to begin until you do.
- Start on One Click and look at the result.
- Set the size. Width and Height, with Lock aspect on unless you have a reason. ⚠ Do this before fine-tuning, not after — dithering is a pattern of dots at a physical size, so resizing afterwards changes how it will look.
- Nudge with Fine-tune if you need to. Reset fine-tune puts it back.
- Use in ALPS to send it into your job, or Export to save it out.
Removing the background
Remove background lifts the subject off its background — useful when you want the person and not the room behind them.
Cut-out contour goes further: it finds the outline of the subject so you can cut it out, not just engrave it. Handy for photo keyrings and ornaments where the part is the shape of the subject.
⚠ It works best on a clear subject against a distinct background. A person in a busy room is a hard problem for any software; if the result is ragged, that is the picture, not the tool.
The bit that decides the result
Method picks the dithering algorithm, and different pictures genuinely want different ones — a portrait and a high-contrast logo are not the same problem.
⭐ If you cannot decide, run Tools ▸ Dithering Comparison: eight algorithms on one sheet, in your material. That is twenty minutes that stops you guessing on every job thereafter.
Disable dither turns the conversion off entirely — for line art and logos that are already pure black and white, where dithering would only add noise to something already clean.
What actually makes photo engraving look good
In the order that matters:
- A good source image. Nothing downstream recovers detail that was never in the file. A small, heavily-compressed picture off a phone message will look like one.
- The right dithering for that picture — see Method above.
- The right resolution for the material — run Tools ▸ DPI Test Sheet. More DPI is not automatically better; past a point the dots merge and the picture goes muddy.
- Speed and power — last, and worth less than the three above.
⚠ Test on the real material. A photo engrave that looks perfect on anodised aluminium can look flat on wood, because contrast comes from the material's response, not from the file.
Related
- Dithering Comparison — eight algorithms side by side on one sheet.
- DPI Test Sheet — ramps 300→1200 DPI to find the sharpest resolution.
- Material Test (
material-test.md) — speed and power, once the image is right.