DPI Test Sheet
Tools ▸ DPI Test Sheet · any machine
What it does
It engraves the same block and label at several different resolutions, side by side on one piece of material, so you can look at them together and pick the sharpest.
Each cell becomes its own engrave process at its own DPI. That is what makes the comparison valid: the machine really does run each block at that resolution, so what you are looking at is the material's actual response, not a simulation of it.
Why you'd want it
Because more DPI is not better, and almost everybody assumes it is.
Past a certain resolution the dots start to overlap. The engraving stops gaining detail and starts losing it — the picture goes flat and muddy, the job takes far longer, and on some materials the extra heat makes it worse still. Where that point falls depends on the material, not on the machine.
⭐ So the useful output of this sheet is often "600 is as good as 1200 and takes half the time." That is a real result, and it applies to every job on that material afterwards.
Step by step
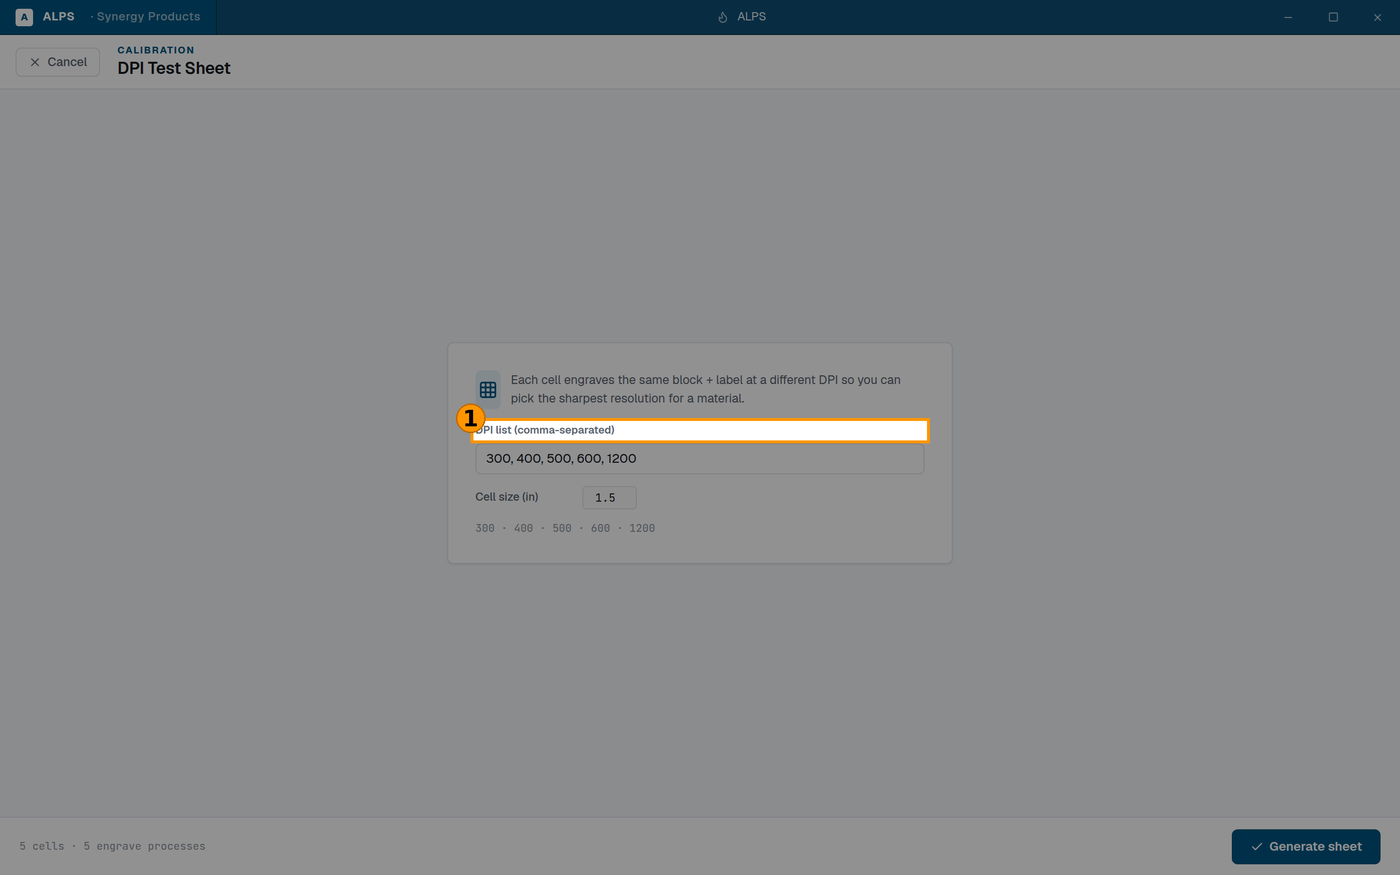
The resolutions to compare — the default spread is a sensible start
- Open Tools ▸ DPI Test Sheet.
- DPI list (comma-separated) — the default
300, 400, 500, 600, 1200is a sensible spread. - Cell size (in) — default 1.5. Big enough to judge, small enough to fit.
- Generate sheet. It opens as a job, one process per DPI.
- Send it, run it, and look at the result in good light and at arm's length — not through a loupe. Arm's length is how the customer will see the part.
The footer tells you what you are about to make: 5 cells · 5 engrave processes.
Reading the result
Look for the point where increasing DPI stops making a visible difference. That is your answer for that material — pick the lowest DPI that reaches it.
⚠ Judge it on the material you will actually use. The answer changes completely between anodised aluminium, coated steel, acrylic and wood, because contrast comes from how the material responds, not from the file.
⚠ And judge it at the size you will actually engrave. A test block viewed close up flatters high resolutions that will be invisible on a finished part.
Where this fits
Run it once per material, keep the plate, and label it. Together with a Material Test grid for the same material, those two pieces of scrap answer most settings questions for as long as you stock that material.
Related
- Material Test (
material-test.md) — speed and power. Run that first; it matters more. - Image Prep (
image-prep.md) — resolution is only the third thing that decides how a photo engraving looks. The source image and the dithering method both matter more. - Dithering Comparison (
dithering-comparison.md) — the algorithm, on one sheet.